
Quick Start
Summary
In this tutorial we’ll first run, and then re-create and re-run, a simple OSGi Microservice.
Build and Run
We start by first downloading, building and running the enRoute quick start example. In addition to demonstrating the simple application this will also confirm that your local environment meets the required prerequisites.
Download the enroute examples from GitHub and change directory into examples/quickstart.
~ $ cd examples/quickstart
Building the example
Build the Application with the following command:
~/examples/quickstart $ mvn verify
If you’re using a Java version higher than 8 to run this tutorial then you’ll need to set the appropriate runee in the examples/quickstart/app/app.bndrun and then resolve the application. For Java 9 use JavaSE-9, for Java 10 use JavaSE-10 and for Java 11 use JavaSE-11. Once you have made this edit issue the command mvn bnd-indexer:index bnd-indexer:index@test-index bnd-resolver:resolve to generate the index, test index, and resolve the bndrun (you should be able to see the changes in the runbundles list afterwards). Once you’ve done this the first time then you can mvn verify to your heart’s content.
Running the example
We now have a runnable artifact which can be started with the command:
~/examples/quickstart $ java -jar app/target/app.jar
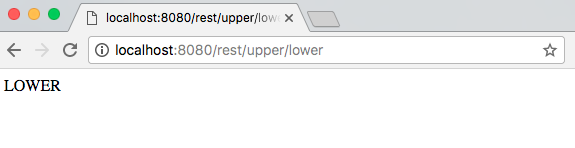
To test that the application is running visit the quickstart application URL for a friendly greeting,
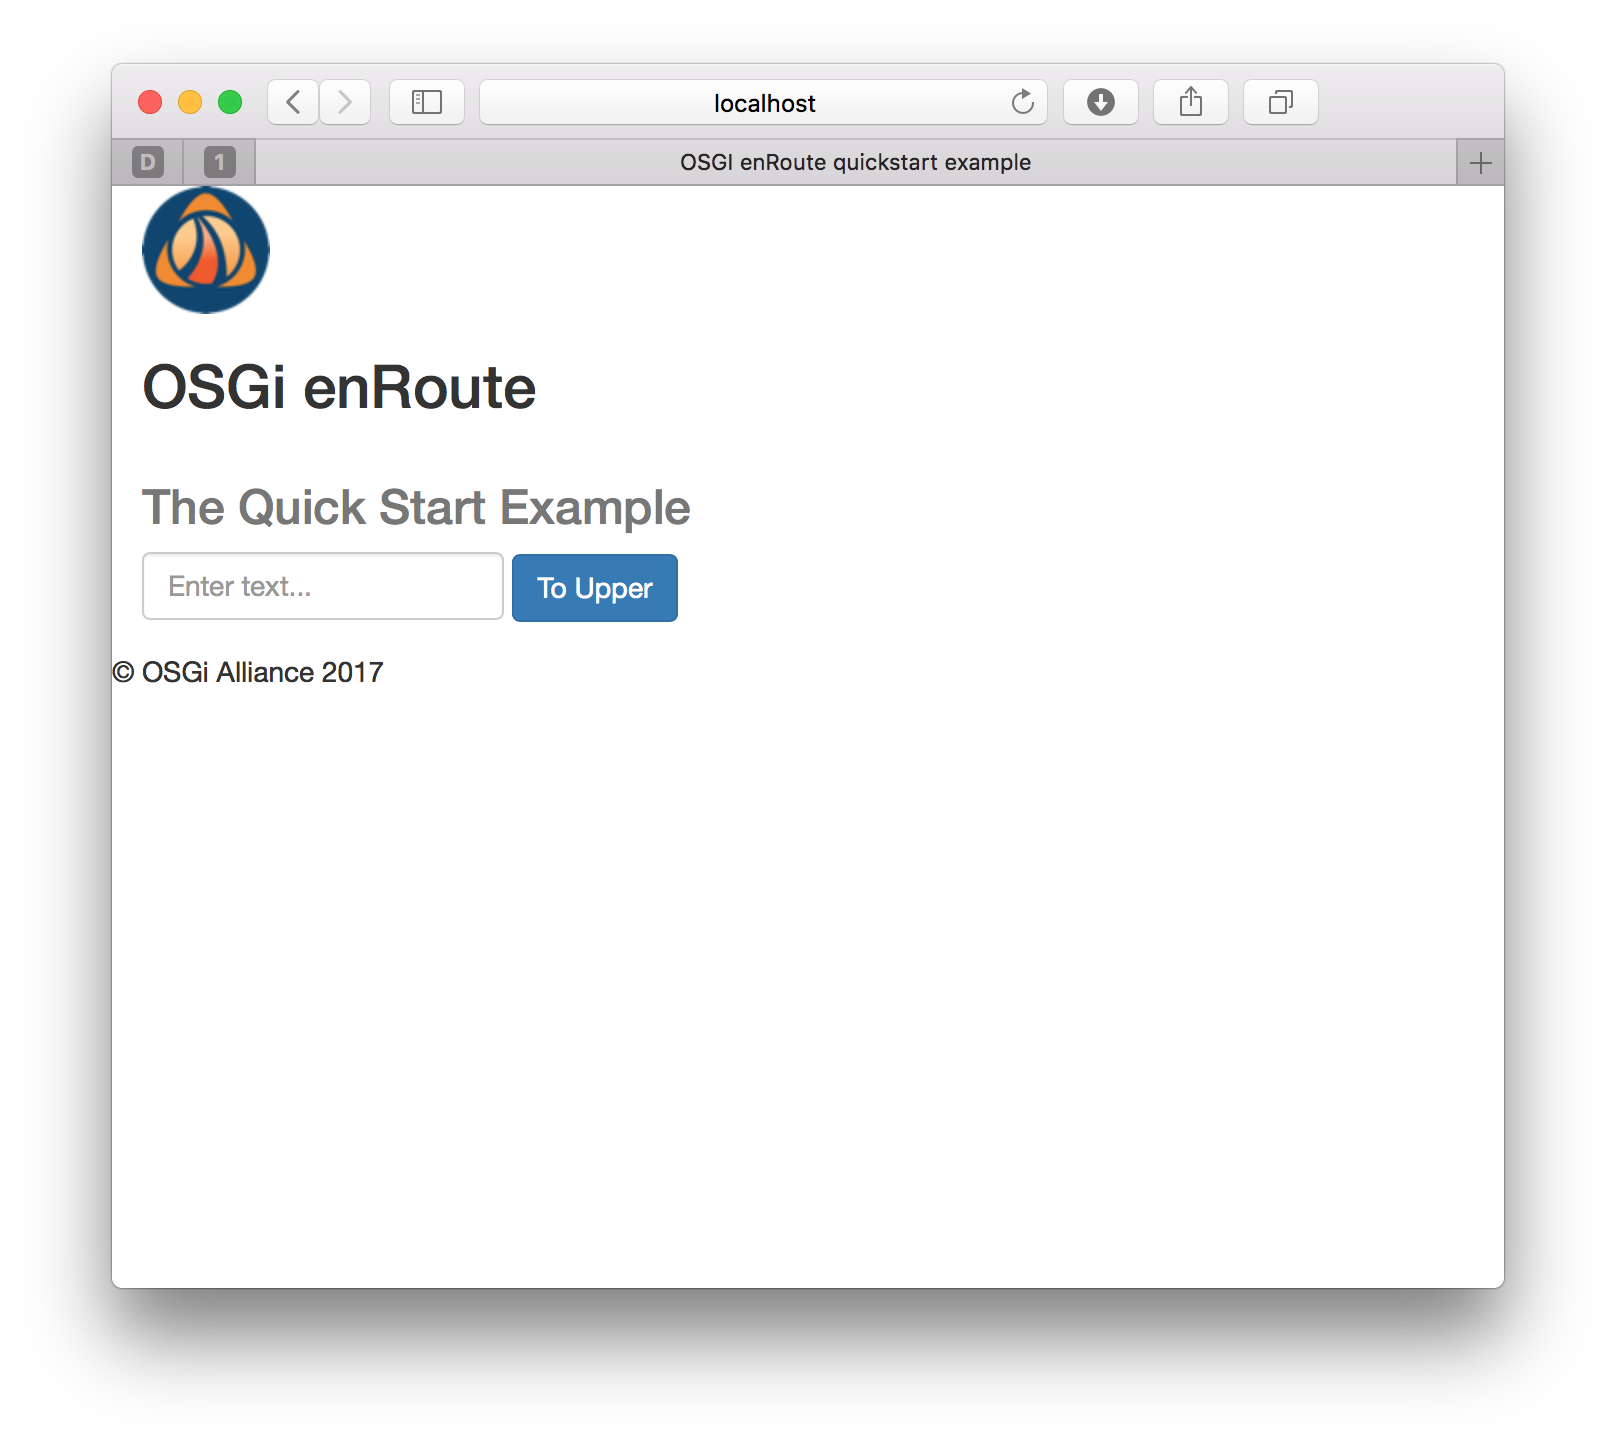
or if minimalism is more your thing, the raw REST endpoint http://localhost:8080/rest/upper/lower.
When you want to terminate the application press Ctrl+C.
Recreating Quick Start
We’ll now recreate the quick start example locally as though it were your own greenfield OSGi project.
It is assumed that you have the required environment installed on your laptop.
Project Setup
First change into a new directory, since we are recreating the project:
~/examples/quickstart $ cd ~
Make sure the newly recreated project is not in the previous examples/quickstart directory structure, as it will also be named quickstart. Feel free to put it in the same parent directory as the downloaded examples/quickstart project or make a new directory outside the downloaded examples/quickstart project. For this tutorial, we put the newly created project in the ~ (AKA /home/user) directory. If you put your project in a different directory, be sure to replace the ~ with your directory path when it appears in shell snippets in the tutorial.
Then issue the command to create the project template:
~ $ mvn org.apache.maven.plugins:maven-archetype-plugin:3.0.1:generate \
    -DarchetypeGroupId=org.osgi.enroute.archetype \
    -DarchetypeArtifactId=project \
    -DarchetypeVersion=7.0.0
We declare to use the version 3.0.1 of the maven-archetype-plugin because if the version is not fixed, Maven chooses the version and it does not work with e.g. version 2.4.
Filling the project details with appropriate values:
Define value for property 'groupId': org.osgi.enroute.examples.quickstart
Define value for property 'artifactId': quickstart
Define value for property 'version' 1.0-SNAPSHOT: :
Define value for property 'package' org.osgi.enroute.examples.quickstart.quickstart: : org.osgi.enroute.examples.quickstart.rest
[INFO] Using property: app-artifactId = app
[INFO] Using property: app-target-java-version = 8
[INFO] Using property: impl-artifactId = impl
Confirm properties configuration:
groupId: org.osgi.enroute.examples.quickstart
artifactId: quickstart
version: 1.0-SNAPSHOT
package: org.osgi.enroute.examples.quickstart.rest
app-target-java-version: 8
Y: :
If you’re using an IDE then this would be a good time to import the generated maven projects.
Implementing the Microservice
Having created the project skeleton, edit ~/quickstart/impl/src/main/java/org/osgi/enroute/examples/quickstart/rest/ComponentImpl.java
package org.osgi.enroute.examples.quickstart.rest;

import org.osgi.service.component.annotations.Component;

@Component
public class ComponentImpl {

    //TODO add an implementation

}
and add the following implementation details
package org.osgi.enroute.examples.quickstart.rest;

import javax.ws.rs.GET;
import javax.ws.rs.Path;
import javax.ws.rs.PathParam;

import org.osgi.service.component.annotations.Component;
import org.osgi.service.http.whiteboard.propertytypes.HttpWhiteboardResource;
import org.osgi.service.jaxrs.whiteboard.propertytypes.JaxrsResource;

@Component(service=Upper.class)
@JaxrsResource
@HttpWhiteboardResource(pattern="/quickstart/*", prefix="static")
public class Upper {

    @Path("rest/upper/{param}")
    @GET
    public String toUpper(@PathParam("param") String param) {
        return param.toUpperCase();
    }
}
and then save the file.
The important modifications include:
- A JAX-RS resource method implementation, replacing the the
TODOsection. - The
@Componentis modified to register this component as an OSGi service. - The
@JaxrsResourceannotation is used to mark this as a JAX-RS whiteboard resource. - Remember to change the name of the component from
ComponentImpl.javatoUpper.java
Building the Implementation
It’s now time to build the implementation project.
From the ~/quickstart/impl project we now build the impl bundle.
~/quickstart/impl $ mvn package
Here, we use the package goal to check that the code compiles and can be successfully packaged into a bundle. If we had tests or other post-packaging checks then we could have used the verify goal instead.
If the package fails then check your code and try again. Once you can package it cleanly then continue to the next stage.
When using Bndtools your IDE will be incrementally rebuilding your projects every time that you save, so there’s no need to run a build. You can also run a build manually.
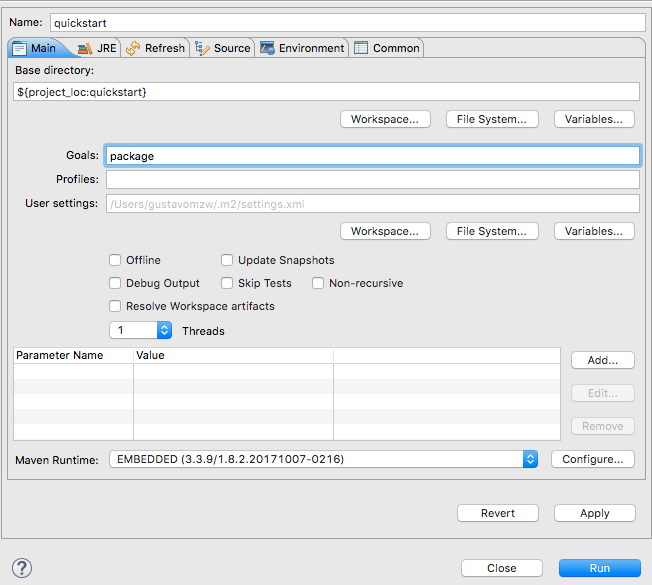
Right click the quickstart module in the left pane, and select Run As -> Maven

Enter package as the goal and click Run
Resolving the Application
Before generating the runtime dependency information used by the OSGi framework take a look at the file ~/quickstart/app/app.bndrun
index: target/index.xml

-standalone: ${index}

-runrequires: osgi.identity;filter:='(osgi.identity=org.osgi.enroute.examples.quickstart.impl)'
-runfw: org.eclipse.osgi
-runee: JavaSE-1.8
Note that your runee may be different if you chose to use a higher version of Java
As shown, the bndrun contains a runrequires statement that specifies a capability; i.e. the implementation for quickstart. However, no runbundles a currently listed; i.e. the actual bundles needed at runtime to create quickstart.
The runbundles are automatically calculated for us via the process of resolving.
From the root of the quickstart project we now generate our indexes and resolve the application using the bnd-resolver-maven-plugin. As the app project references other projects in the same reactor we use the -pl flag to pick the app project and the -am flag to be sure all of our dependencies are packaged and up to date:
~/quickstart $ mvn -pl app -am  bnd-indexer:index \
    bnd-indexer:index@test-index \
    bnd-resolver:resolve package
Note that the indexes are automatically regenerated every time you run through the package phase. If you want to generate the indexes for the app module without packaging everything then you can do so by issuing mvn -pl app -am bnd-indexer:index bnd-indexer:index@test-index
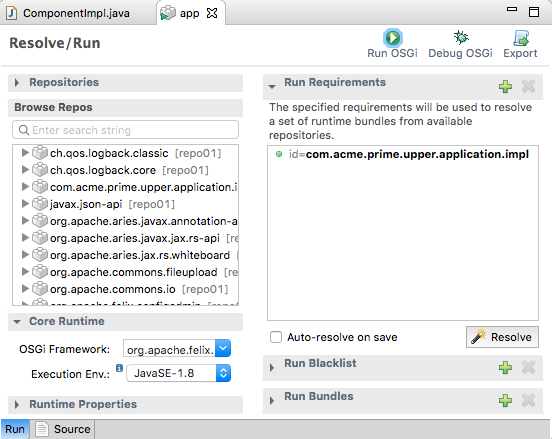
In the app maven module, open the app.bndrun to display the Bndtools Resolve screen. Here we can see that the implementation bundle is added to the run requirements.
Click the Resolve button…
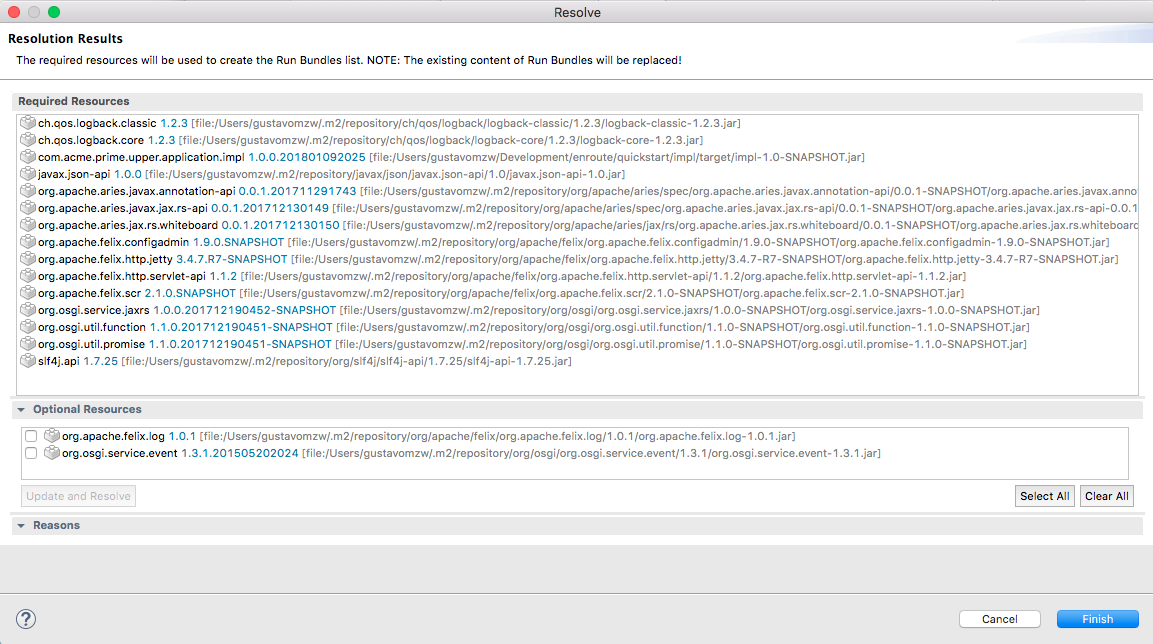
Now click Finish button…
Note that Bndtools automatically keeps your indexes up to date, so there is no need to manually generate them.
If you look again at the app.bndrun file you will now see that our rest service implementation org.osgi.enroute.examples.quickstart.impl, OSGi Declarative Services implementation org.apache.felix.scr, and a number of other bundles required at runtime are now listed by runbundles.
index: target/index.xml;name="app"

-standalone: ${index}

-runrequires: osgi.identity;filter:='(osgi.identity=org.osgi.enroute.examples.quickstart.rest)'
-runfw: org.eclipse.osgi
-runee: JavaSE-1.8

-resolve.effective: active

-runbundles: \
	ch.qos.logback.classic;version='[1.2.3,1.2.4)',\
	ch.qos.logback.core;version='[1.2.3,1.2.4)',\
	org.apache.aries.javax.jax.rs-api;version='[1.0.4,1.0.5)',\
	org.apache.felix.http.servlet-api;version='[1.1.2,1.1.3)',\
	org.osgi.service.jaxrs;version='[1.0.0,1.0.1)',\
	org.osgi.util.function;version='[1.1.0,1.1.1)',\
	org.osgi.util.promise;version='[1.1.0,1.1.1)',\
	slf4j.api;version='[1.7.25,1.7.26)',\
	org.apache.geronimo.specs.geronimo-annotation_1.3_spec;version='[1.1.0,1.1.1)',\
	org.apache.aries.jax.rs.whiteboard;version='[1.0.6,1.0.7)',\
	org.apache.felix.configadmin;version='[1.9.16,1.9.17)',\
	org.apache.felix.http.jetty;version='[4.0.14,4.0.15)',\
	org.apache.felix.scr;version='[2.1.16,2.1.17)',\
	org.osgi.enroute.examples.quickstart.rest;version='[0.0.2,0.0.3)'
Note that your runbundles list may be different if you are using a different version of Java
Running the application
We now create a runnable application JAR.
Note that in this version of quickstart only the REST endpoint will be available.
Now that the initial development is done we’re ready to build and package the whole application by running the following command in the project root.
~/quickstart $ mvn package
Your version of quickstart may now be started as described above. It won’t have a UI, but the REST endpoint will be available at http://localhost:8080/rest/upper/lower.
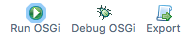
In the app maven module, open the app.bndrun to display the Bndtools Resolve screen. Select the Run OSGi button
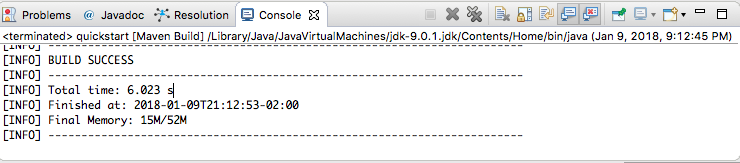
See the results in the console screen.

With the project running, navigate to http://localhost:8080/rest/upper/lower and check the results
If you want to get hold of the runnable application jar then right click the quickstart module in the left pane, and select Run As -> Maven
Enter package as the goal and click Run
Wait for maven to finish the generation.
The runnable jar file created will be app/target/app.jar, and may be started as described above. It won’t have a UI, but the REST endpoint will be available at http://localhost:8080/rest/upper/lower.
Prev Next